SentinelOne EDR
Fluency's integration with SentinelOne has three portions:
- As a SIEM, Fluency has the ability to accept Syslog export from SentinelOne's cloud portal.
- Fluency can also use SentinelOne's API to collect and tabulate Agents, Applications and Threats information on the Fluency Resources page.
- Lastly, Fluency can ingest and store SentinelOne's CloudFunnel 2.0 (an addtional S1 add-on) feed, to provide deep insight and complete visibility.
Syslog Export: Configuration
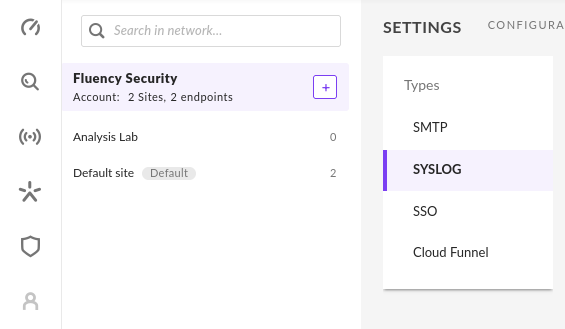
The Syslog configuration page is found under the Settings section of the SentinelOne main menu.
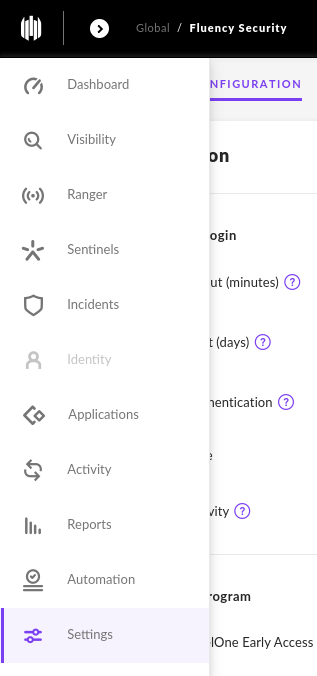
Under the Integrations tab, navigate to the Syslog Section.
Toggle Enable Syslog, and complete the Host section of the page.
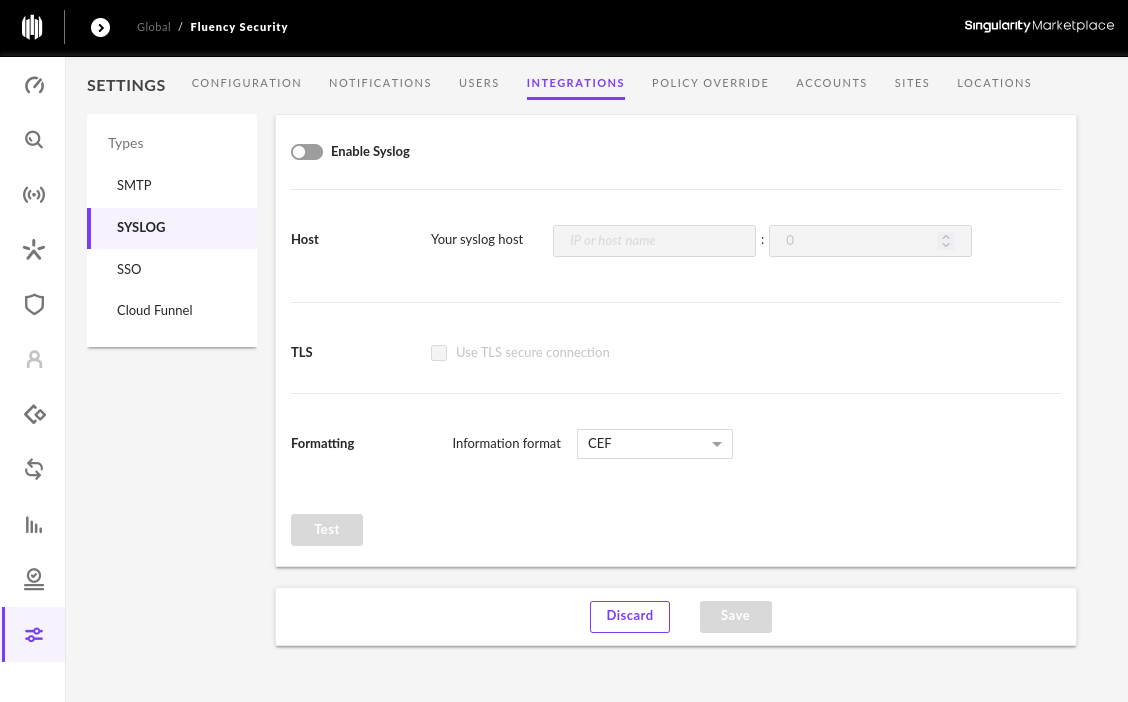
Syslog Server
The log server address is the designated Syslog URL of your Fluency server.
<company>.syslog.fluencysecurity.com
The default normal Syslog port is UDP 514.
NOTE: This information can be found on the Setup Review page (under Overview section) in the Fluency Portal.
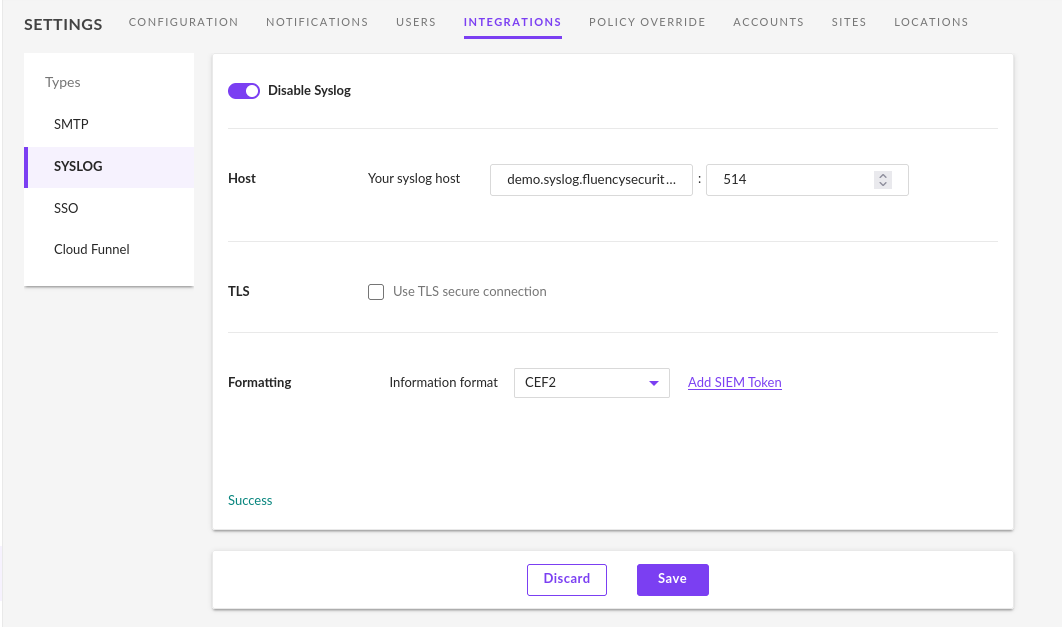
Syslog w/ TLS
It is also possible to configure Syslog over TCP with TLS. In this case, the Syslog port changes to TCP 6514.
A Server certificate is required.
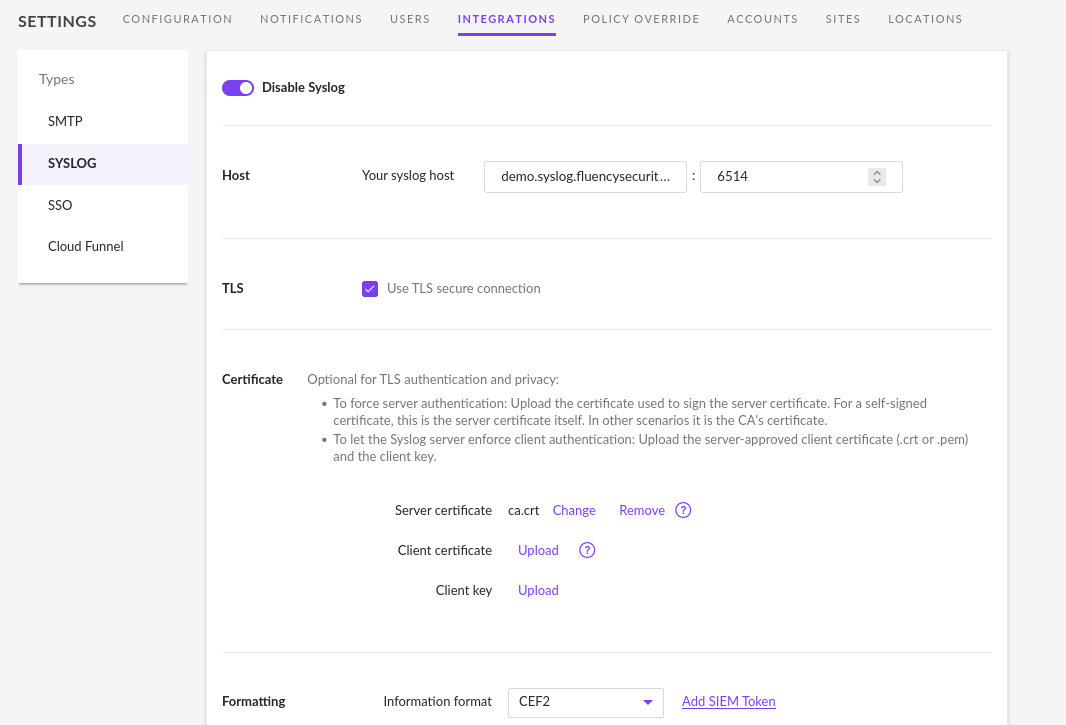
NOTE: The CA cert file is also found and downloaded from the Setup Review page (under Overview section) in the Fluency Portal.
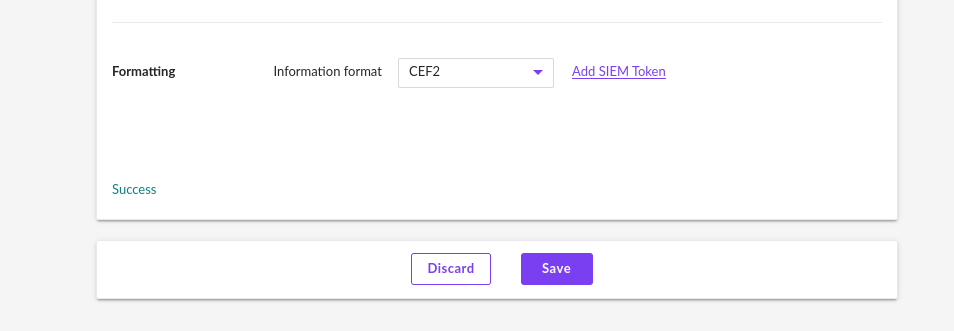
For all Syslog export methods, the CEF2 format should be selected.

Additionally, the Test button can be used to verify the connection.
Should the above test be successful, click Save to complete the Syslog configuration.
Note: the Syslog setting can be configured either 'per site' or 'per account' in the SentinelOne portal.
    Choose the appropriate scope for your deployment.
Syslog Notifications
The notification settings may need to be configured for Syslog. Navigate back to the the Settings section of the SentinelOne main menu, and choose the Notifications tab.
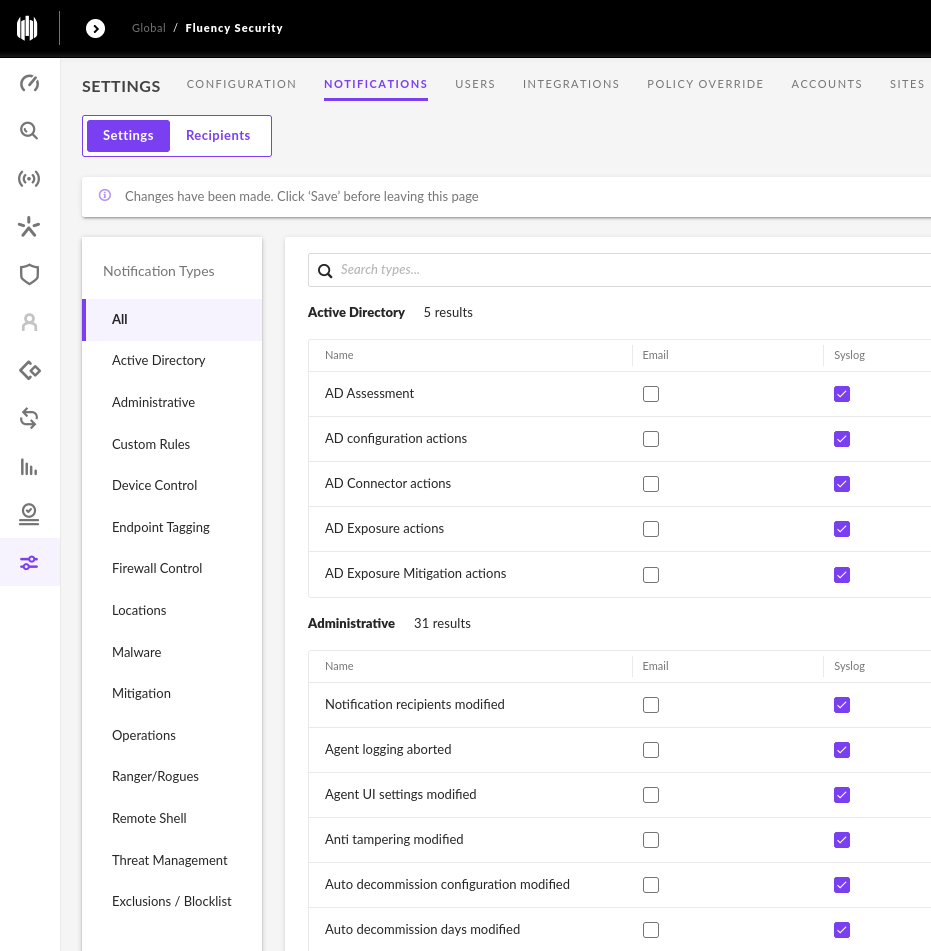
Note: Examine the Syslog column and select as many type as appropriate for your deployment.
    Fluency suggests selecting *ALL* event types, whenever possible.
API Integration
An API token from the SentinelOne portal is used by Fluency to provide API integration.
There are two methods to get an API token:
- via an existing user, or
- via a dedicated service account.
Existing User
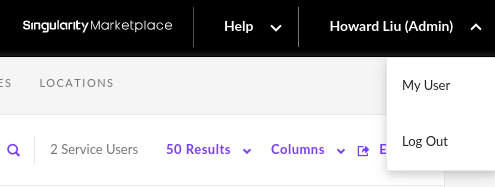
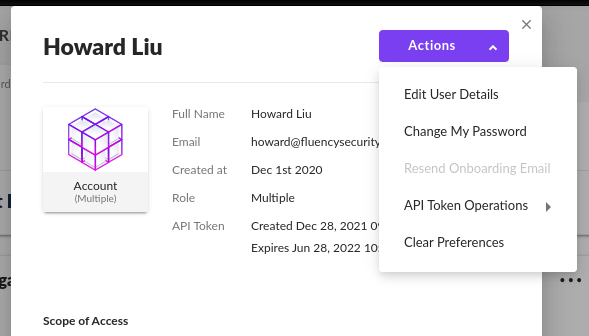
To get an API token (attached to an existing user), select the User name, and choose My User in the upper right corner of the portal.
The dis-advantage of using an API token attached to an existing user is a shorter expiration time.
A user's API token will expire in 180 days
On this page, you can choose an option from the Actions dropdown to create or regenerate a new API token.
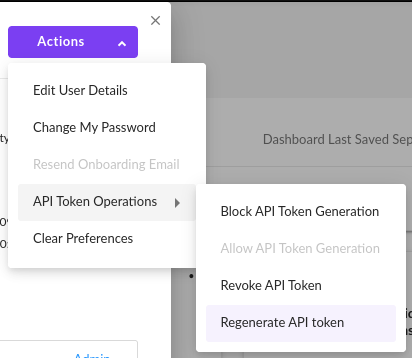
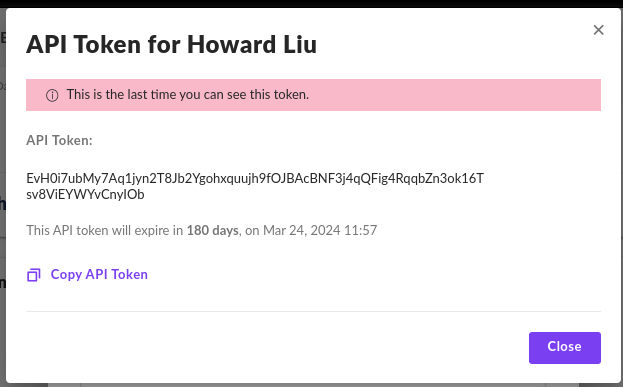
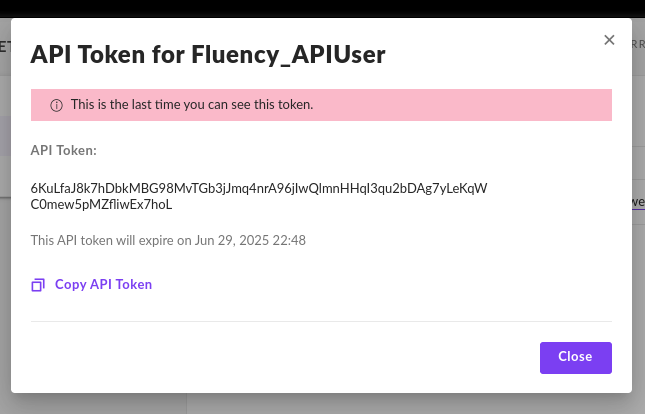
Copy the shown API Token on the next page, and save it for use in Fluency.
Dedicated Service Account
To create a dedicated service account, navigate to the Settings section of the SentinelOne main menu. Under the Users tab, navigate to the Service Users Section.
The Service User will allow API tokens to have a much longer Expiration Date.

On this page, you can choose an option from the Actions dropdown to create a new user.
Fill in the appropriate fields and choose Next to continue.

It is suggested to choose a longest expiration period allowable / possible.
On the following page, select the appropriate Scope (account/site) for your use case.
This API token will only require the Viewer permission, as the Fluency integration is read-only.
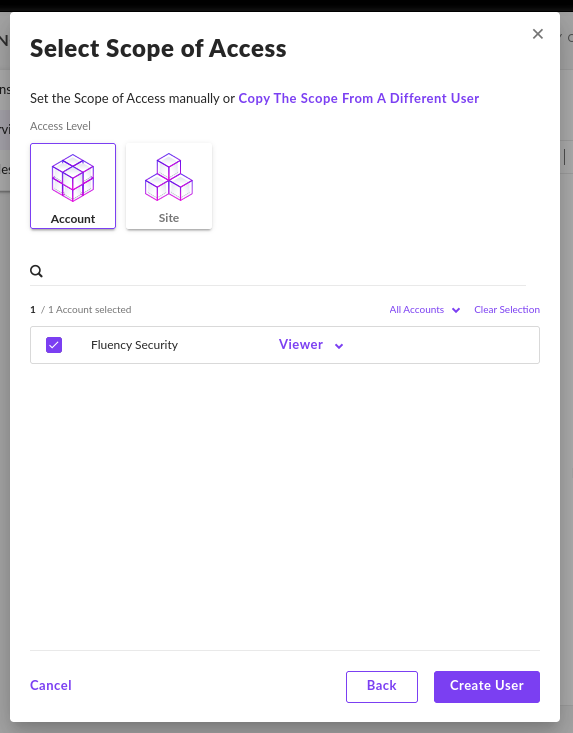
Copy the shown API Token on the next page, and save it for use in Fluency.
Adding a Fluency Plug-In for SentinelOne EDR
Login to the Fluency Cloud portal: https://(companyname).cloud.fluencysecurity.com.
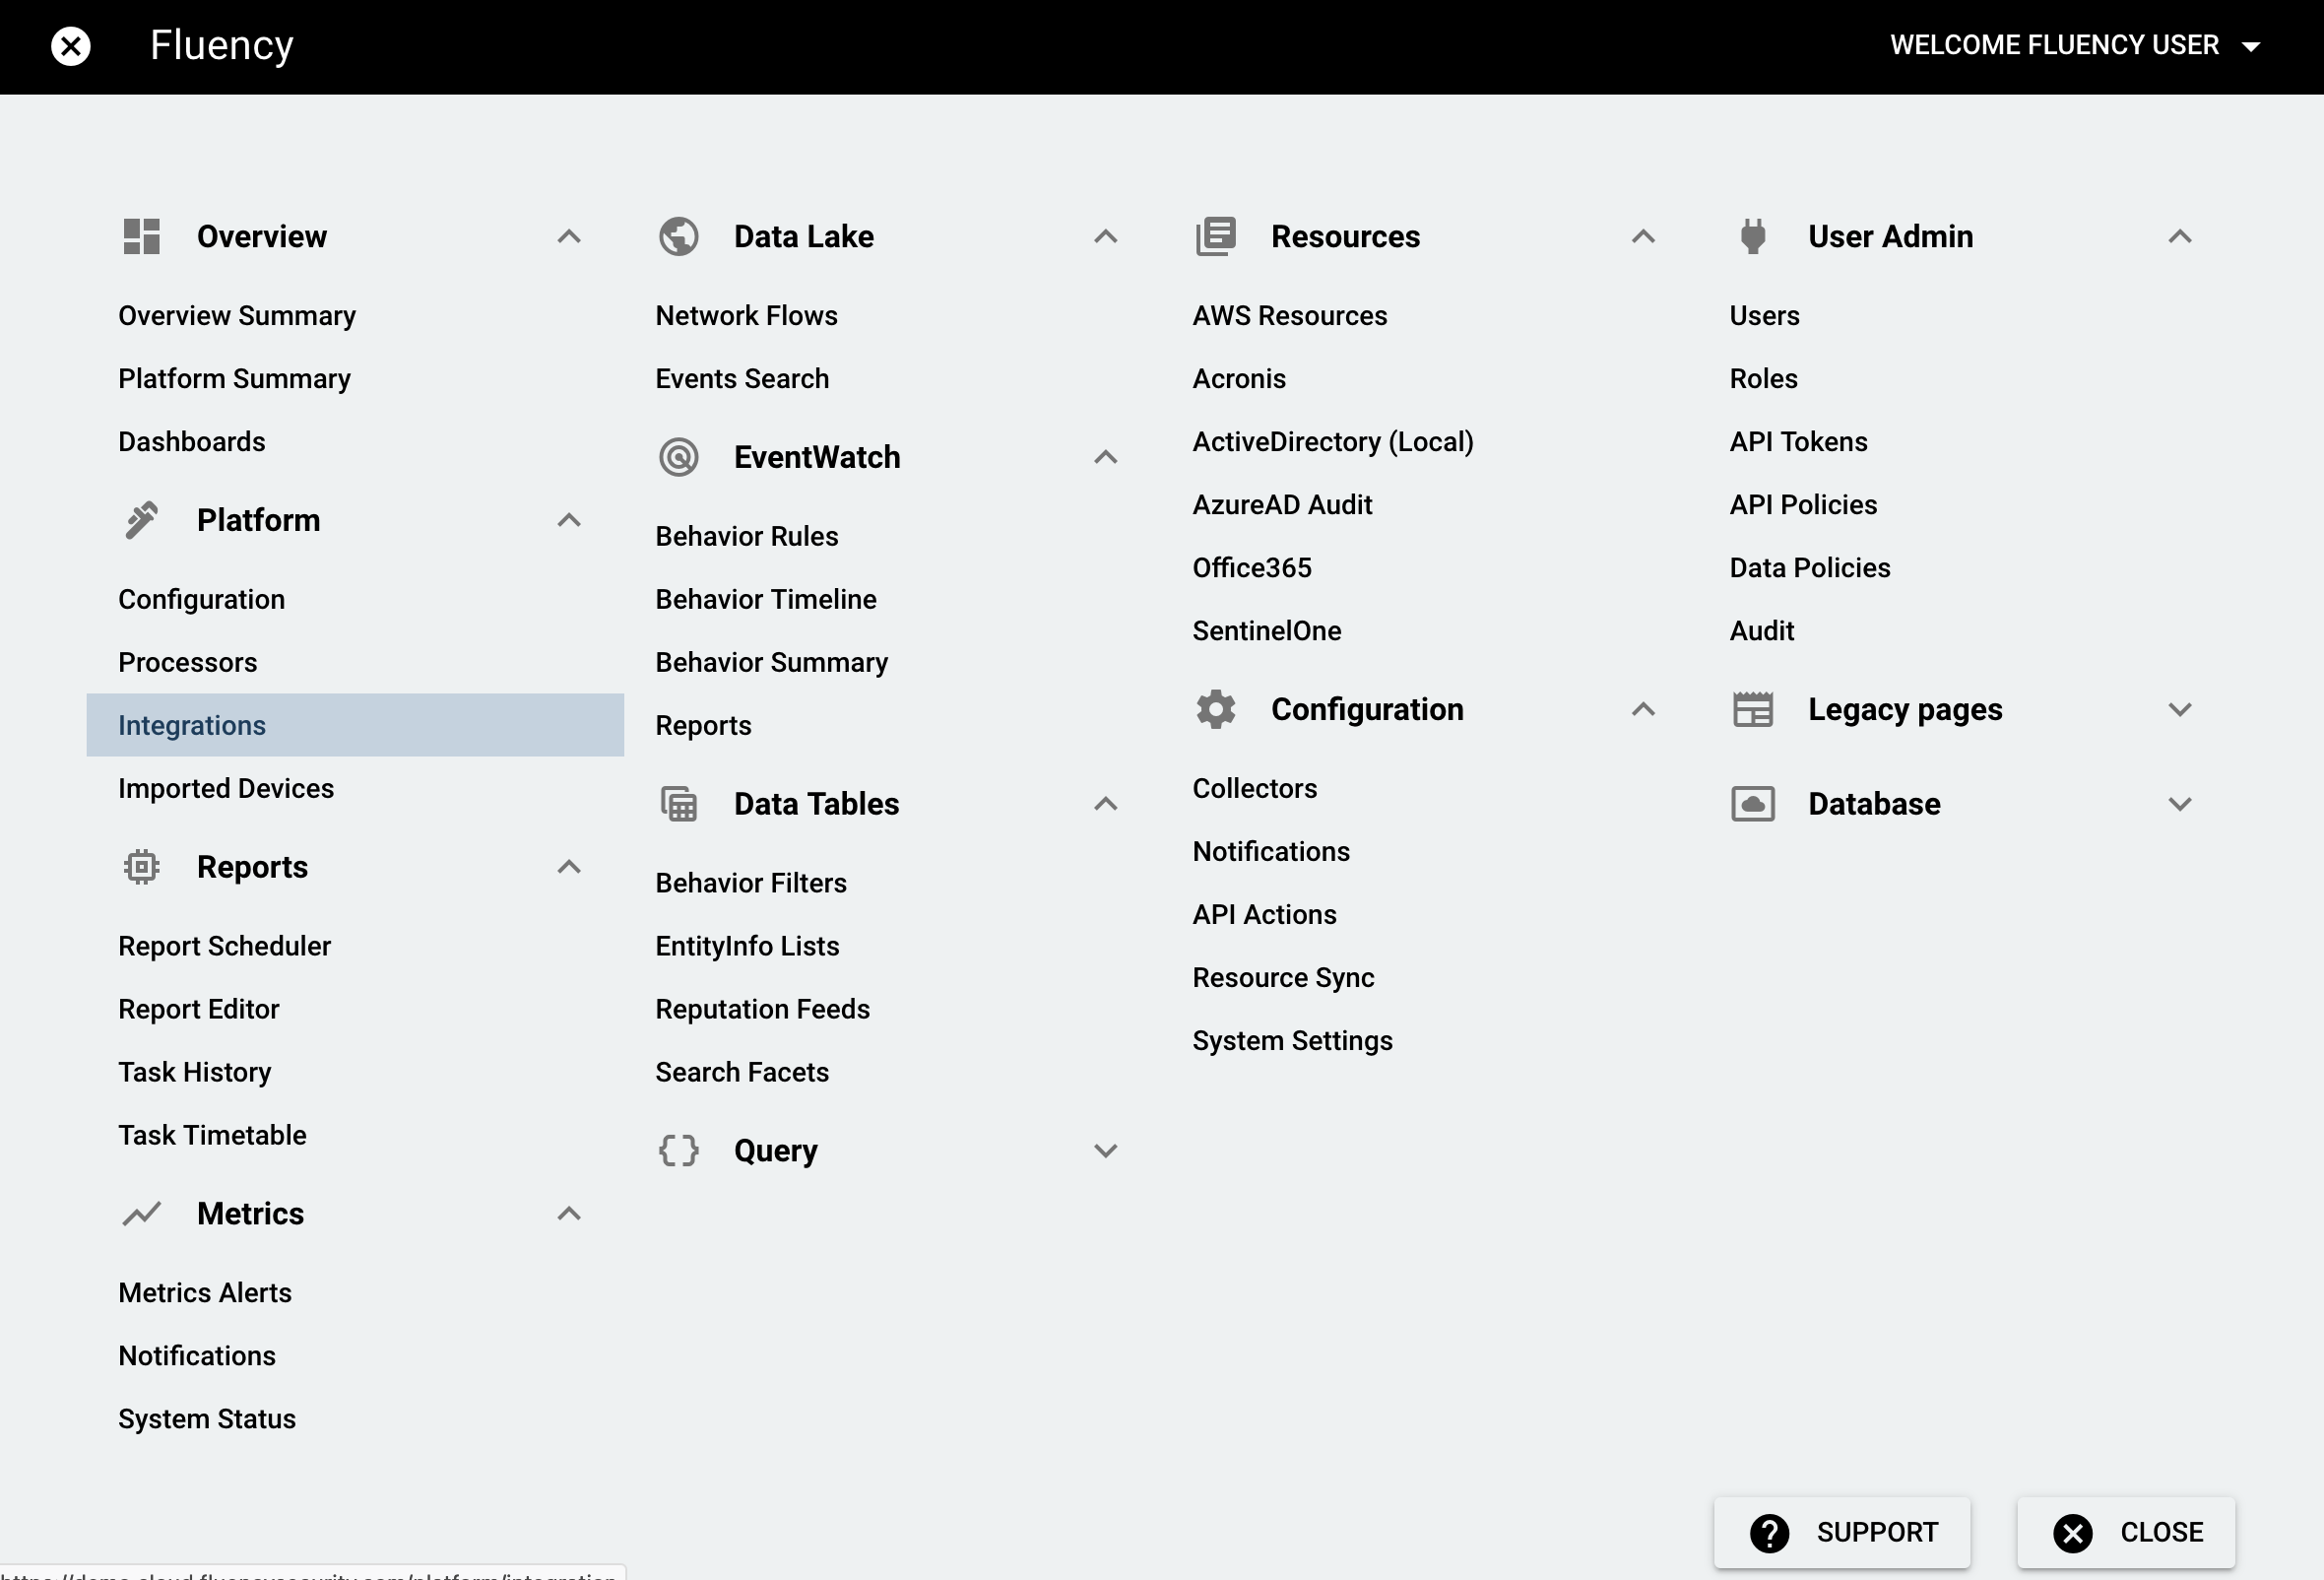
Open the Main Menu from the upper left-hand corner and choose the Integrations option under the Platform section.
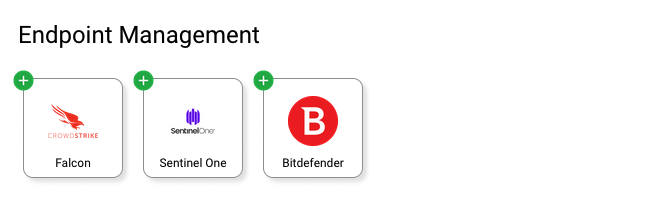
The "Sentinel One" icon is found under the section "Endpoint Management" in the second tab, "Available Integrations".
To add a new Sentinel One integration, click the "+" in the upper left corner, then you'll see a window on the left as below:
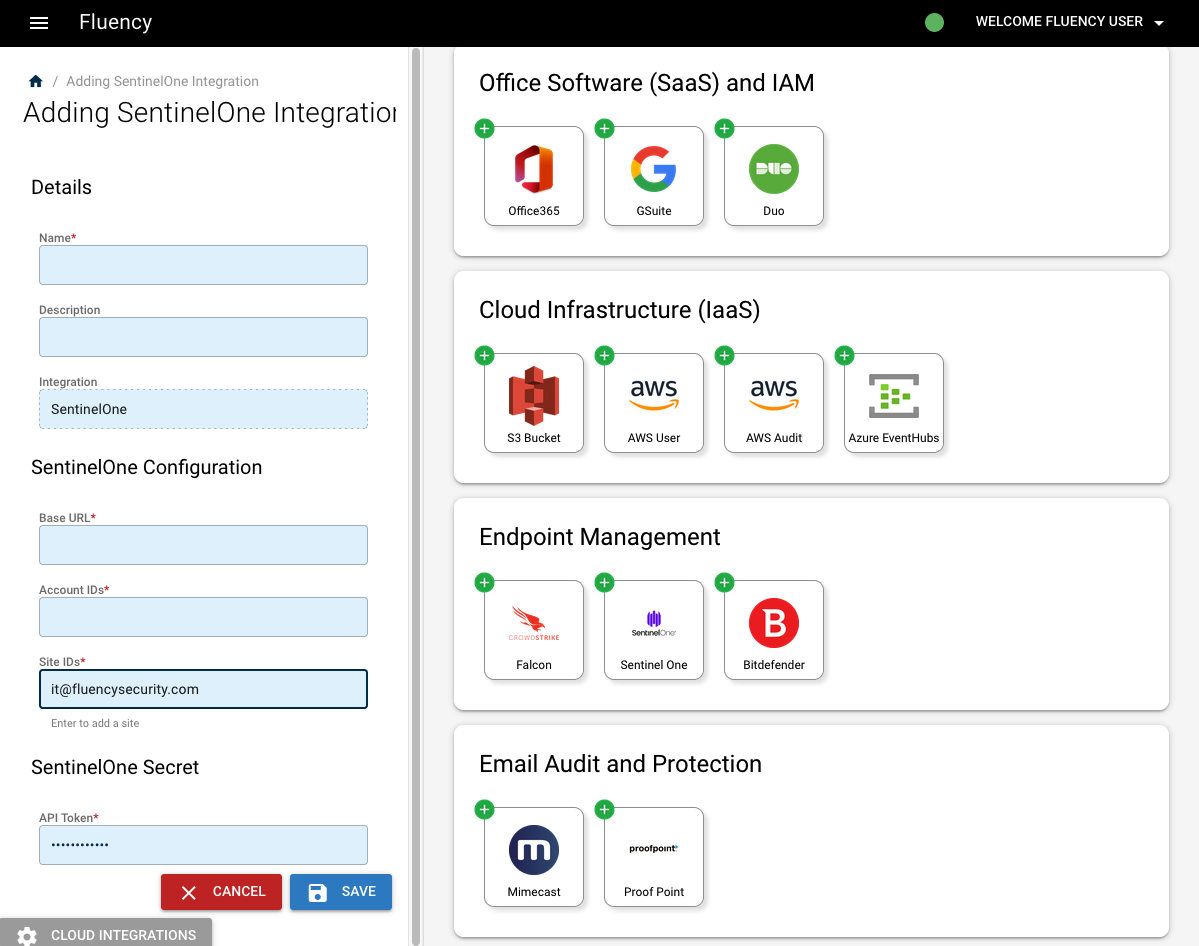
(description needs update!!!)
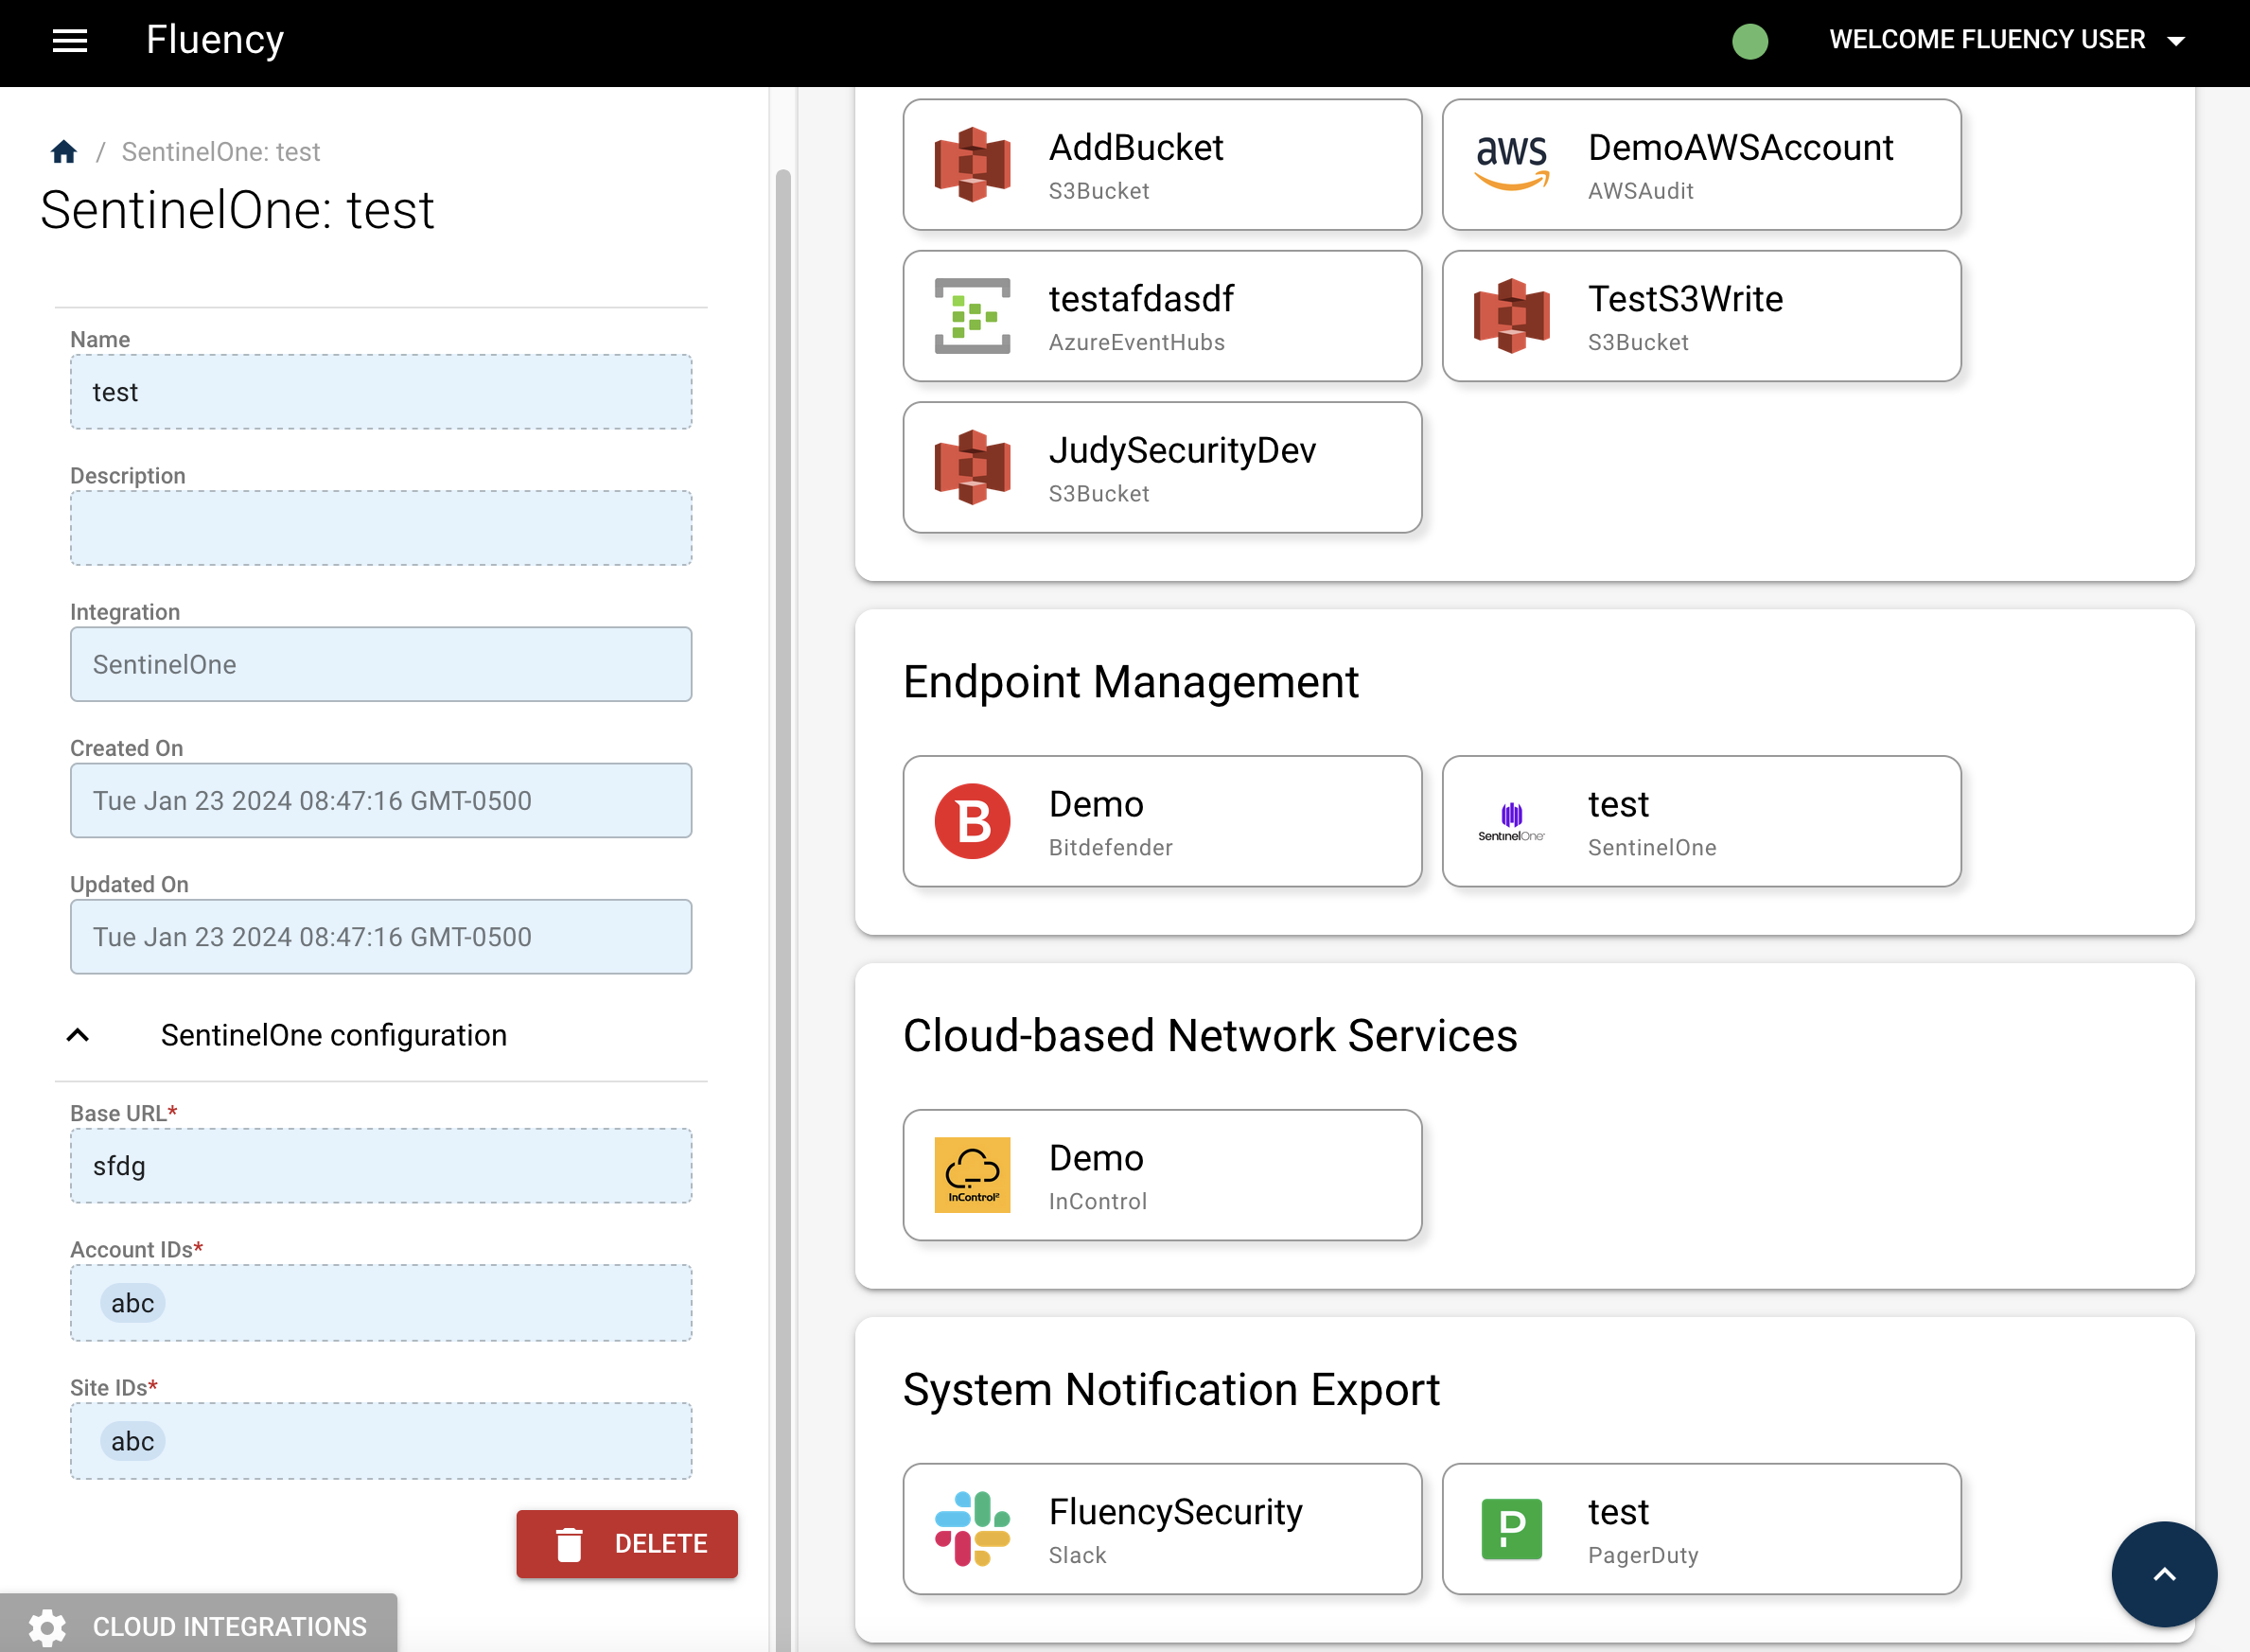
Click the "Save" button to add the connector. You can see it under the "Endpoint Management" section of the first tab "Existing Integrations".
Updating the API Token
In the first tab "Available Integrations", navigate to the Endpoint Management section, find the existing SentinelOne integration on the right side of the page.
Click the icon to view the integration.
(No update button??? needs update!!!)
Cloud Funnel 2.0
If available, the Cloud Funnel configuration page is found under the Settings section of the SentinelOne main menu.
Under the Integrations tab, navigate to the Cloud Funnel Section.
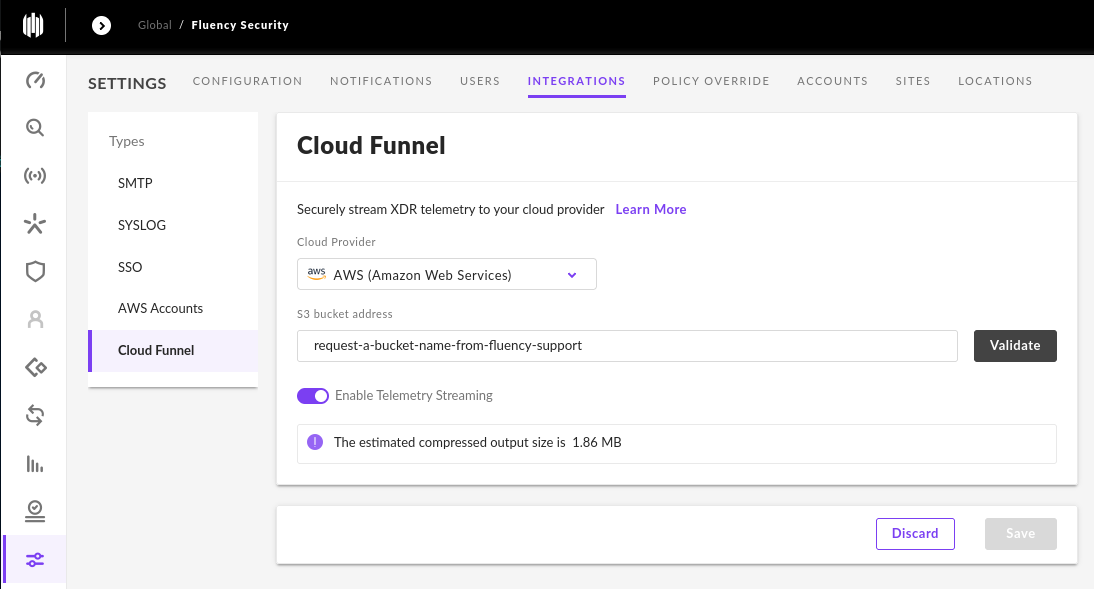
Please contact Fluency Support to request a dedicated S3 bucket address for your S1 Cloud Funnel integration.
Use the following link to: Create a Support Ticket
It is also possible (but not suggested) to use your own, existing bucket for this integration. Please reach out to Fluency Support if you have this need.
Once you have recieved your S3 bucket address from Fluency support, click Validate to validate the connection, and then click Save.
Adding a Fluency Plug-In for SentinelOne EDR w/ CloudFunnel
Login to the Fluency Cloud portal: https://(companyname).cloud.fluencysecurity.com.
Follow the instructions in the section above to start adding an integration.
(description below needs update!!! There's no "API only" option in the window...)
In the pop-up window, ensure that the API Only option is NOT selected. You will be presented with additional fields to fill in the expanded window.
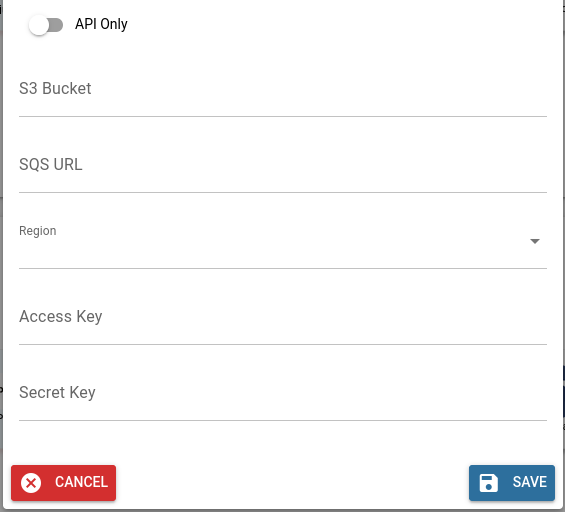
Please contact Fluency Support if you did not receive this information at the same time as your dedicated S3 bucket address.
Page last updated: 2023 Oct 27