Collector VM install (Legacy)
Virtual (VM) Collector Installation Guide
This guide addresses the procedures required to install the Fluency Virtual Collector.
NOTE: This guide is for the now legacy Fluency Collector on CentOS 7. As CentOS 7 officially reaches EOL on June 30, 2024, it is suggested to install the new collector, based on Rocky Linux 9.
Refer to the Fluency Collector page for updated documentation.
The Fluency virtual collector is installed on top of the CentOS Linux operating system. For more detailed information regarding CentOS, refer to the official vendor documentation.
Official CentOS documentation:
https://docs.centos.org/en-US/centos/install-guide/
Install CentOS Linux
The following guide assumes the installation is takes place on a machine with a new empty disk, and that the system has been booted from the CentOS installation ISO. For instructions on other types of CentOS installations, please refer to the official documentation:
https://docs.centos.org/en-US/centos/install-guide/
The CentOS Minimal install ISO can be found at the following link (other Mirrors/Repositories may be used for the same ISO):
https://mirrors.mit.edu/centos/7.9.2009/isos/x86_64/CentOS-7-x86_64-Minimal-2009.iso
The recommended size for the virtual collector is 2 vCPU, 8GB RAM and 80GB to 1TB of disk space. If your virtual machine already has CentOS installed, such as the case when launching an instance from an AWS or Microsoft Azure image, this section may be skipped.
Note: for Microsoft Azure, the supported/tested image is the OpenLogic.CentOS-7_9 image. (In the marketplace, search "centos based". The image is from Rouge Wave Software). The minimum instance size on Azure was Standard B2s, with 4GB RAM.
Booting from disk/ISO image
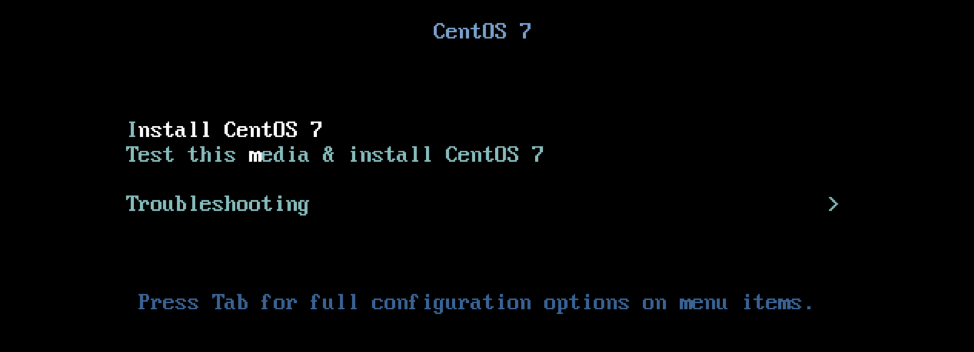
Start the machine from the installation disk/image. Select Install CentOS 7 from the launch menu.
Configuration
On the following screen(s), select the language, and “continue” to the “Installation Summary” page.
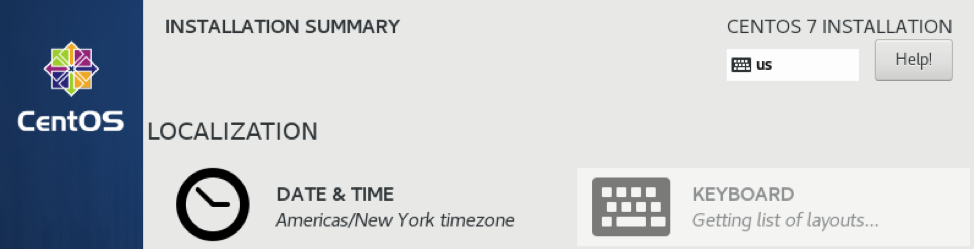
Select the “Installation Destination” option under “System”, to partition and configure the disk. Note, you may also choose to disable “KDump” here, as it is not used.

Partitioning
In the Installation Destination configuration page, choose “I will configure partitioning” and select “Done” to advance to the next page to customize the partitioning.

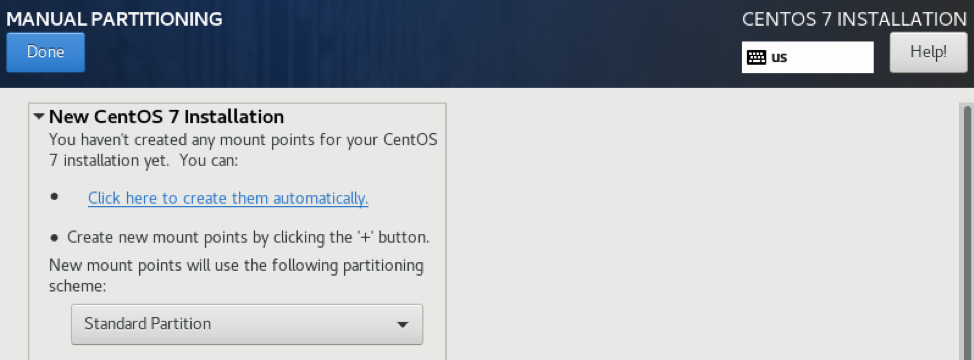
Select “Standard Partition” and create a mount point for the root directory “/”. For the desired capacity, choose the entire available space.

Click “Done” when finished configuring. Accept/confirm the changes and acknowledge the warnings to continue.
Network Settings
Return to the “Installation Summary” page and select “Network and Hostname” to configure the network settings.
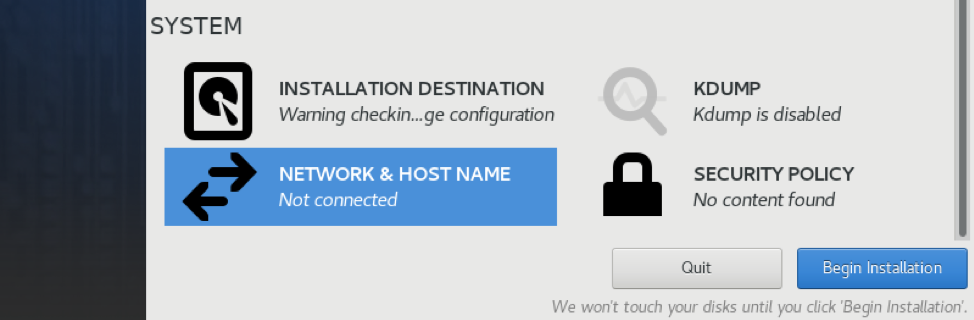
For the Host name, choose a valid name for the machine, avoiding spaces. You may also toggle the On/Off button for the Network interface to enable the port on boot. Click “Done” when finished.

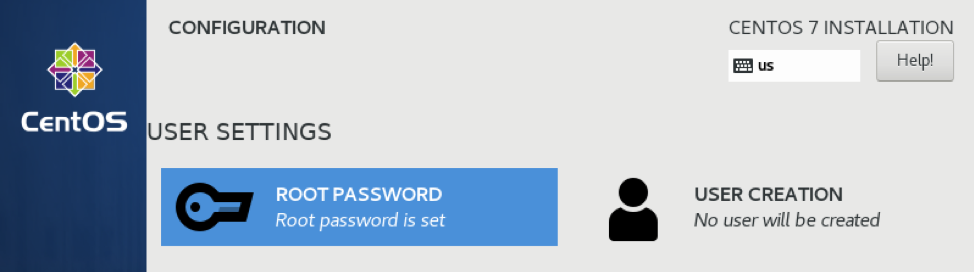
Return to the “Installation Summary” page and select “Begin Installation” to start. On the following page, configure a password for the root user.
Wait for the progress bar to indicate that the installation is complete.
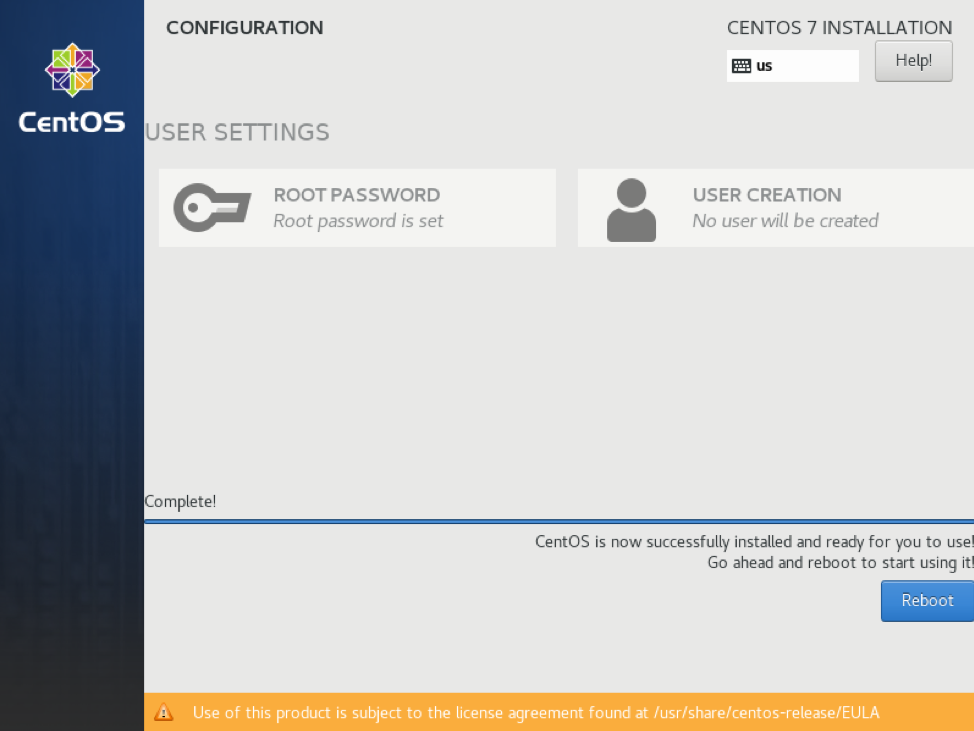
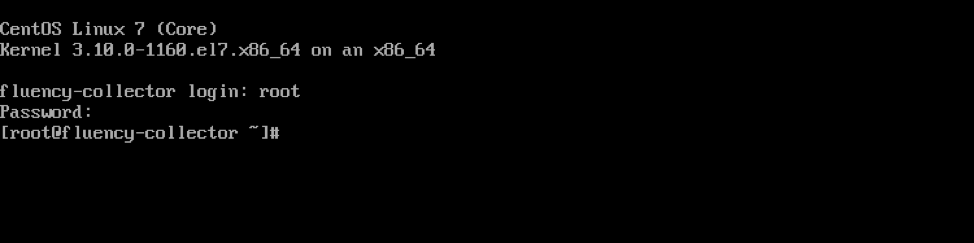
Select “Reboot” to complete the installation. You will be prompted to log into the system terminal when the machine completes the reboot.
Running the Fluency installation package
Login to the system with the root user credentials created in the above step. (If not using a root account, add the prefix “sudo” for each of the commands shown below.)
Downloading install package
Download the Fluency installation package (and make it executable) via the following commands:
yum -y install wget
wget https://s3.amazonaws.com/SecurityDo/images/Fluency-installer-v700b.package
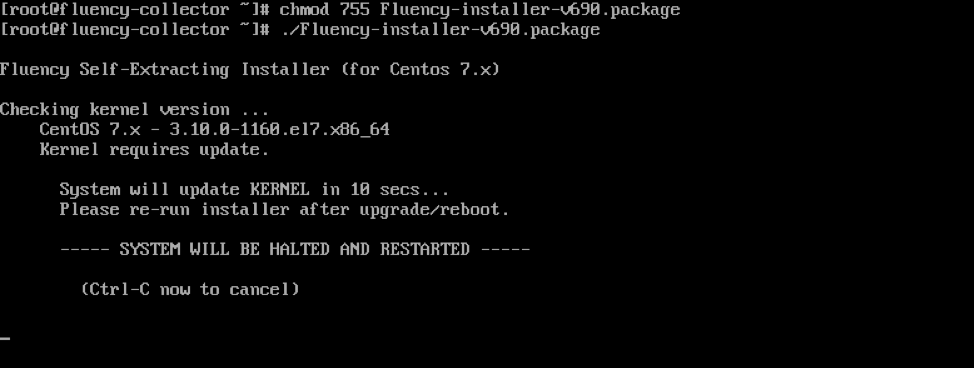
chmod 755 Fluency-installer-v700b.package

Executing installation package
Run the installation package with the following command:
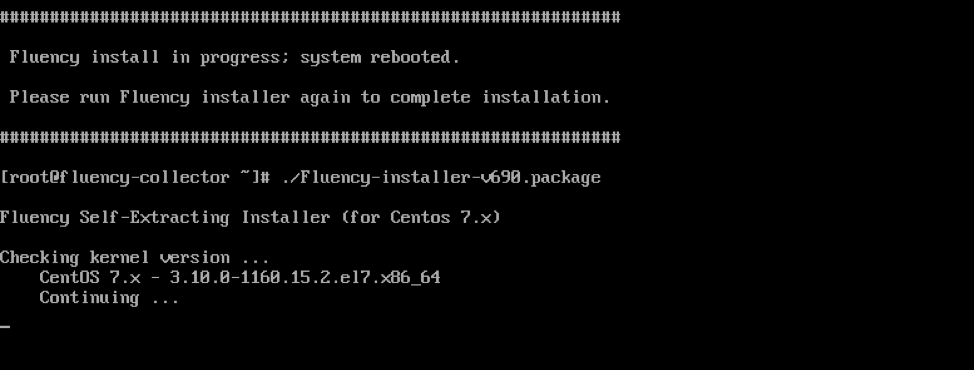
./Fluency-installer-v700b.package
Kernel update/reboot
You will be asked to update kernel and restart.
Configuration/Install package
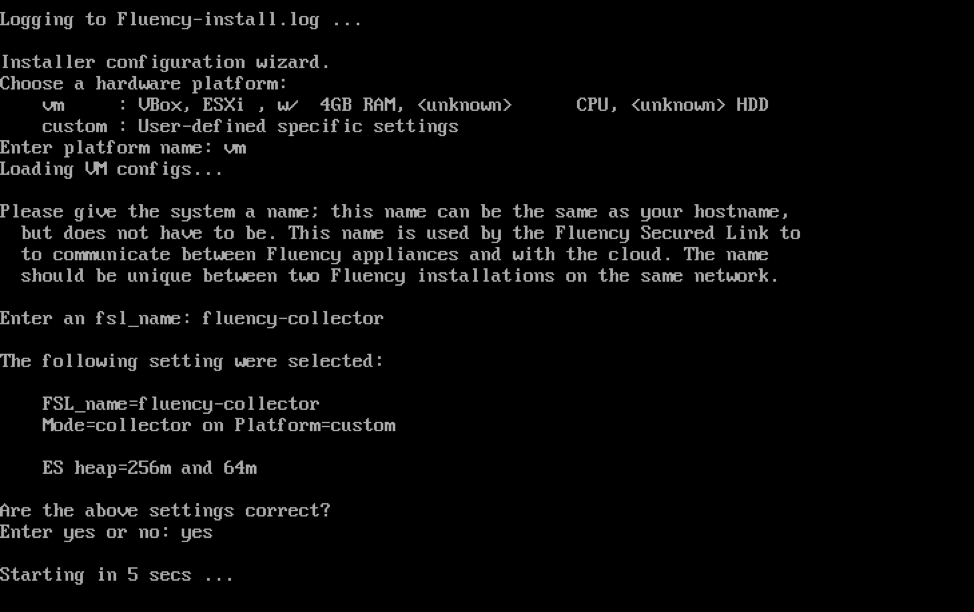
Once the VM restarts, log in and run the package again.
The installer will prompt you for a "hardware platform". Type "vm" in the prompt.
The installer will prompt you for an “fsl-name”. Type a name in the prompt, avoid using spaces and special characters.
Allow the package to run and complete the installation.
The prompt should display "DONE" when completed.
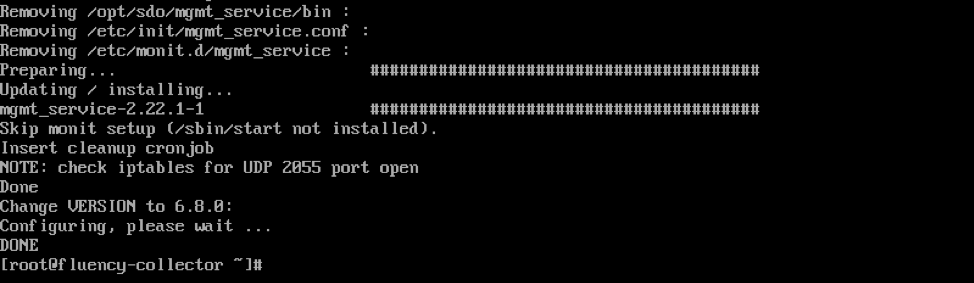
The collector installation is now complete. Proceed to the next step to attach it to your Server.
Installing Automatic Updates
Fluency collectors can automatically update when connected to a server. However, this is a recently added feature, and must be patched into the collector.
Allow automatic updates when connected to a Fluency server
Download and install the patch via the following commands:
wget https://s3.amazonaws.com/SecurityDo/public/fluency_collector_patch_20230221.tar.gz
tar xvfz fluency_collector_patch_20230221.tar.gz
cd fluency_collector_patch_20230221
./install.sh
This will install a new service on the collector and allow Fluency collector to download and install updates (via the server). No further action is needed after the patch.
Fluency Portal Configurations
Refer to Adding a Collector.
Connecting the collector to a Fluency server
Obtain a collector token from your Fluency server. Once a collector Token is obtained from the server, it must be added to the Collector appliance. On the collector appliance, a command is provided: (For IPv4 addresses: <server-url> should be in the form <https://server-ipv4>; IPv6 addresses: <https://[server-ipv6]>, note the additional brackets)
mgmt add_server https://<companyname>.cloud.fluencysecurity.com <your-token>
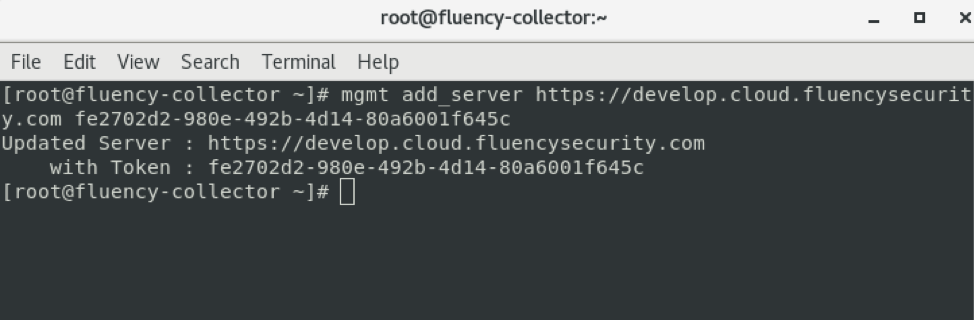
This completes the procedures to install and configure a Fluency Virtual collector. Refresh the Collectors page on the Fluency portal. The status indicator for the new collector should now be “Green”.
NOTE: If a Server has previously been configured, running the above command will overwrite those settings.
Page last updated: 2023 Dec 07