AWS Simple Storage Service
Fluency offers several CloudFormation scripts to facilitate integration. While these scripts are free to use, keep in mind that AWS CloudFormation is a paid service, and you will incur a charge from AWS for using it.
AWS CloudFormation allows you to configure AWS resources from script/code. This makes deployment easy, consistent, and greately decreases the possiblity of errors or misconfigurations.
For supported AWS integrations, deploying via CloudFormation is always recommended, if the script is avaliable.
AWS CloudFormation
Fluency provides a single CloudFormation script to complete all the steps to collect CloudTrail data. The process to configure CloudTrail can be complicated, as can be seen from the CloudTrail (Manual) section, provided for reference.
Link to the CloudFormation file on S3: https://fluency-cloudformation.s3.us-east-2.amazonaws.com/Fluency_AWS_Import_CloudTrail.yaml
Link to the CloudFormation file on S3 (for AWS GovCloud users): https://fluency-cloudformation.s3.us-east-2.amazonaws.com/FluencyGovCloudTrail.yaml
Deploying a CloudFormation template
Navigate to the CloudFormation section of the AWS Management Console.

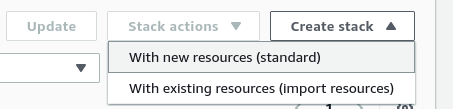
Under the "Stacks" section, choose "Create stack" (with new resources, standard).
On the following page, specify a template, and choose the desired template (using Amazon S3 URL) from above:

Click "Next" to continue.
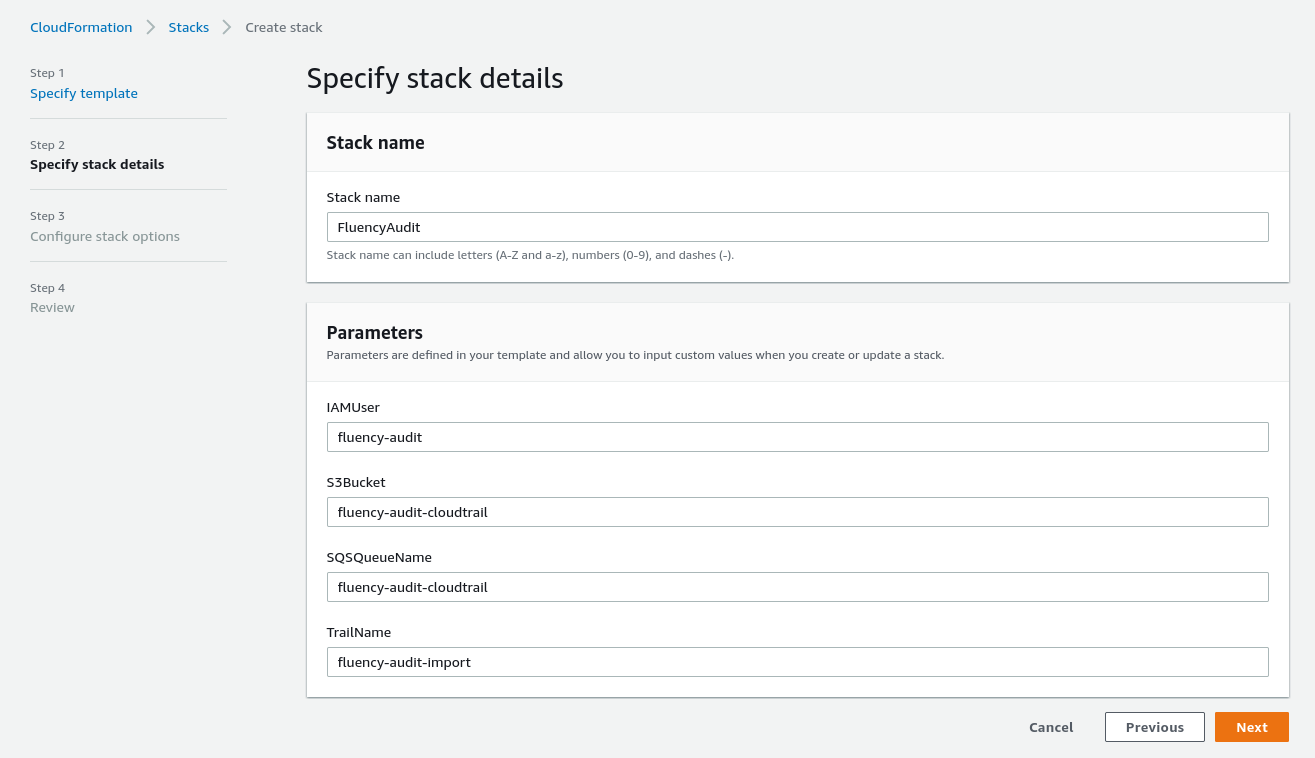
Give this deployment a name, and specify some parameters of the queue. You can choose your own name, or keep the default values provided by Fluency.
NOTE: You must change the default value of the S3Bucket. Or the CloudFormation will always fail and be rolled back.
AWS S3 Bucket names must be Globally Unique; the default S3 bucket name already exists elsewhere in AWS.
Ensure that the AWS S3 Bucket name chosen follows the AWS Bucket naming rules.
Click "Next" to continue.
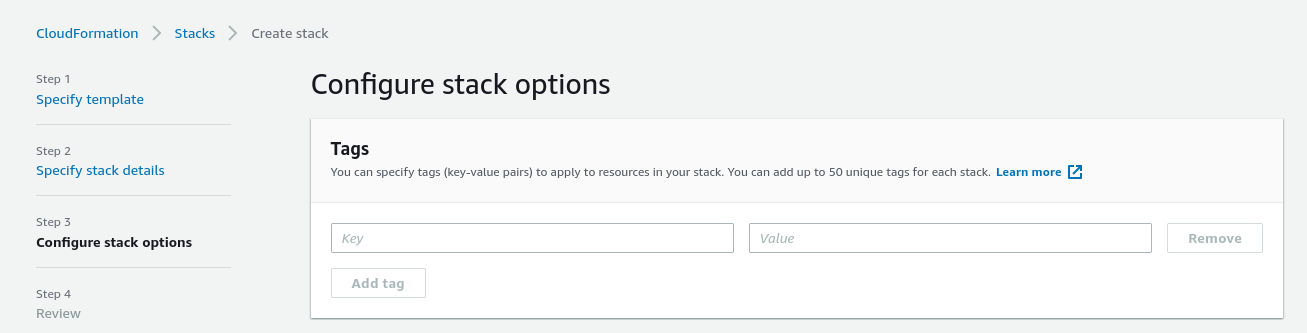
Configure additional items (optional).
Click "Next" to continue.

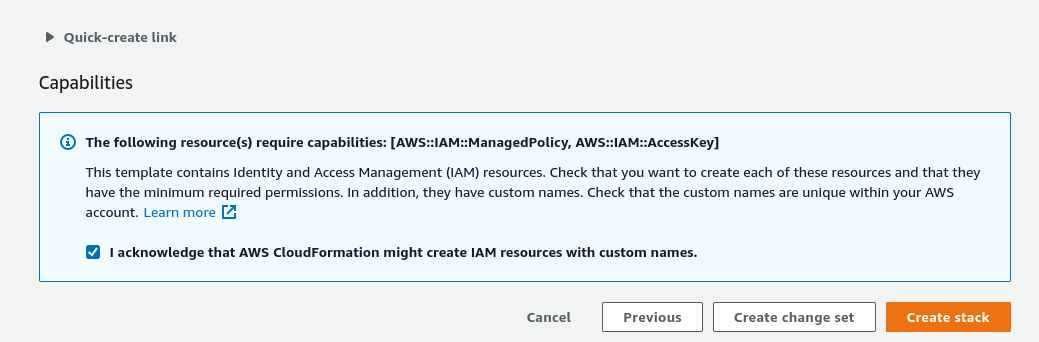
Review the deployment, when complete, choose "Create stack" to deploy.
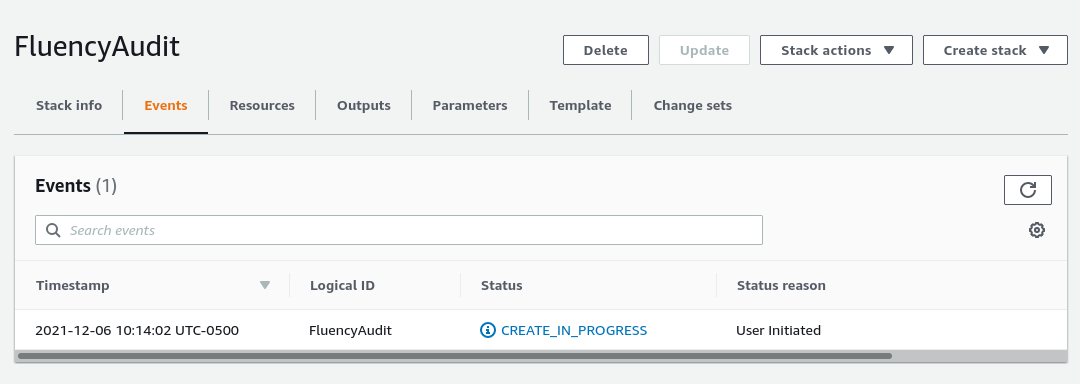
The deployment in progress:
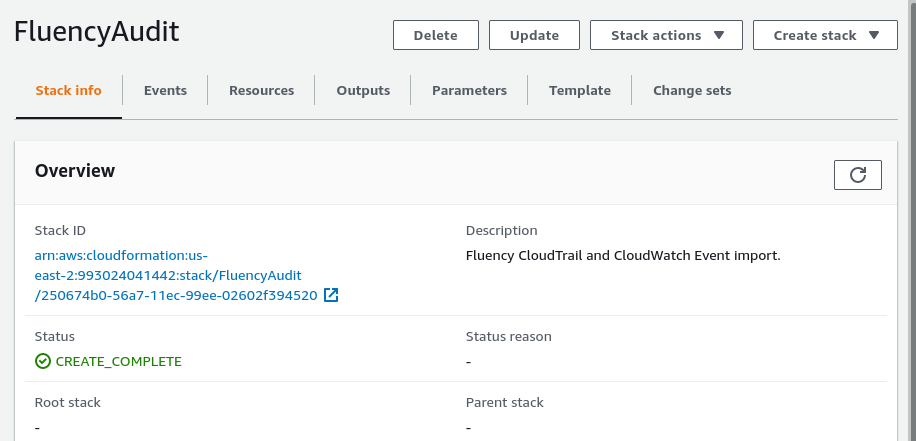
Once the deployment is complete, navigate to the "Outputs" tab.
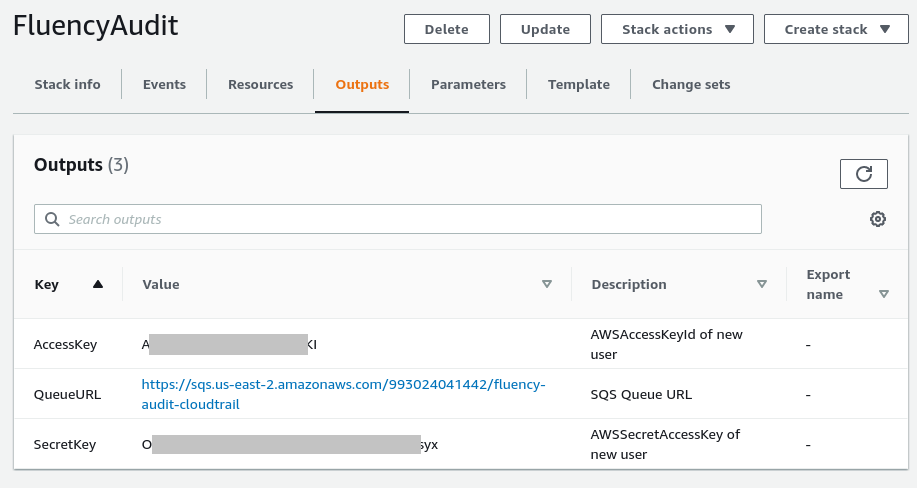
Copy the details (Key/Values) shown. You will be asked for these items on the Fluency interface.
Fluency Web Interface
Integration
AWS CloudTrail
Login to the Fluency portal, and navigate to the Integrations option under the Platform section.
Select the AWS S3 w/ SQS integration (S3Notification).
In the left-hand panel, give the integration a short name (such as CloudTrailUSEast1), and optionally a description.
Using the values from the CloudFormation run in the previous step, populate the rest of the values. Ensure that the Region selected matches that of the SQS queue URL.
Click Save to finish adding the integration.
Configuration
Navigate to the Integrations option under the Platform section from the Main menu.

Select the AWS integration endpoint from the list on the right side of the page, in the same Cloud Infrastructure as a Service section. Choose the pencil icon to edit/configure the connector.
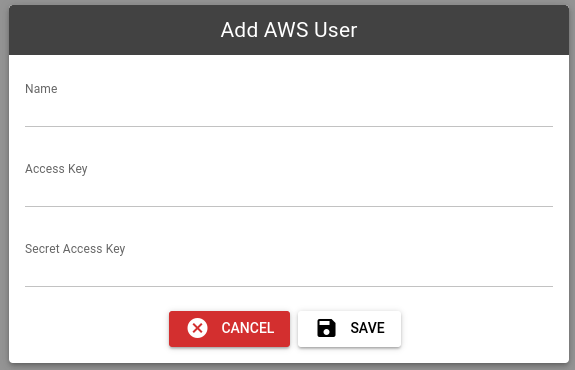
On the plugin configuration page, select the "+ New User" button in the upper left.
Using the IAM credentials from the previous step, fill out the required information. Click "Save" to add the IAM User.
AWS CloudTrail
Select the "+ New CloudTrails" button, under the Users section.
Fill out the required information, using the information from the previous steps. Provide the Queue URL and select the IAM User created above.
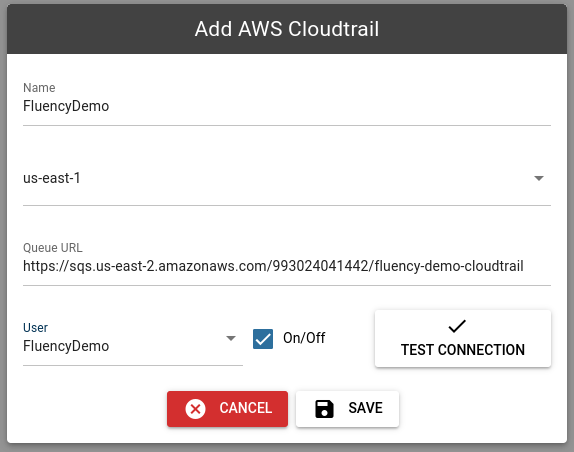
Make use of the "Test Connection" button, to test the IAM configurations prior to saving.
If an error is encountered, like the one shown below, please verify the IAM user has the proper Access policy.

A successful test will return the following message:

Click “Save” to add the CloudTrail.
This completes the procedures to export AWS CloudTrail logs to Fluency. Your data will be available in Fluency's Data Lake Events Search shortly.
Page last updated: 2024 May 10